Nowadays, every new Android phone coming with FRP protection. After doing factory reset, If you have forgotten the Gmail account which was previously used on your Phone, then, you have to know the process of bypass the FRP lock. On this page, I share with you a step by step instructions to Redmi 8A FRP Bypass | How to unlock Redmi google account MIUI 12 (Android 10) successfully. So, follow the below process carefully.
What is FRP (Factory Reset Protection)?
The FRP (Factory Reset Protection) has been added to the modern phones that are available on the latest Android system (Lollipop 5.0, Marshmallow 6.0, Nougat 7.0, Oreo 8.0, Pie 9.0 ) and MIUI 11 and 10. FRP is the abbreviation of (Factory Reset Protection) FRP (Factory Reset Protection) will automatically be enabled when the user added a Gmail account on their devices first time.
Once FRP lock is activated then it prevents any user to use the device after the hard reset through recovery mode, So that’s why we always recommended you to before performing a factory reset. first, disable the FRP protection and then hard reset the device.
How To Disable FRP?
If you want to disable the frp lock feature from your device then you need to delete the Gmail Account from the device Settings. follow the below process completely to disable the Factory Reset Protection successfully. First of all, go to the settings menu=>> Accounts=>> select the Gmail id =>> remove account =>> that’s it.
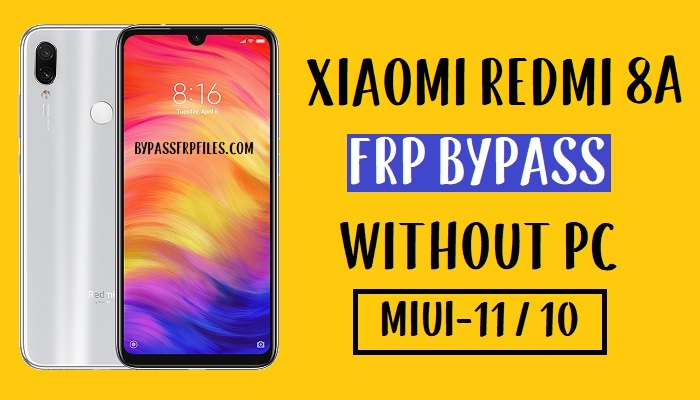
Redmi 8A specifications
Redmi 8A released in September 2019. Its comes with 2/3/4GB of RAM and 32/64GB of ROM storage and its support up to 512GB of external memory support. The display of the Redmi 8A comes with 6.22inchs with a resolution of 720 x 1520pixels.
Redmi 8A runs on Octa-core (2×1.95 GHz Cortex-A53 & 6×1.45 GHz Cortex A53) Qualcomm SDM439 Snapdragon 439 and powered by 5000mAh nonremovable battery and this device has 8MP of front and 12mp single back camera.
Bypass FRP Files not responsible for any damage on your device please try this at your own risk.
Prerequisites
- The following guide is only for Redmi 8A, so don’t try this with any other devices.
- Charge your device at least 80% or above.
- A stable wifi internet connection.
- Take a full backup of your Android device.
- Follow all the below steps very carefully, don’t skip any step.
How to Redmi 8A FRP Bypass MIUI 12 Without PC
- First, Power ON your Redmi 9A.
- Then connect your Redmi 9a to a WI-FI network.

- Setup the device until you see the Google Account verification screen.

- Go back to the WI-FI screen and Forget the Wi-Fi network.

- If you have SIM card inserted, then eject it also.
- Now click Skip => next => next => Accept.

- Now you will get the Setup Password page, Select Only Screen lock.
- Select Pattern lock or Pin lock.
- Now Draw your Pattern lock.
- You have successfully added the Pattern lock on your Xiaomi Redmi 9A.

- Now tap Next => Next=> until you get the Not Signed IN popup again.

- Again connect your Xiaomi phone to the Wi-Fi network and click Next.
- Draw the pattern lock that you setup earlier.
- Now you get the Skip option on the Google Account verification page, tap Skip.
- Setup your Redmi phone normally.
- Done.
Check Other:
In this article, I share the best working method to unlock your phone. If you still stuck between some steps or could not understand anything relating to this topic, you can let me know in the comment section below. Thanks for visiting.